Sprouting Jar Lid for Mung Beans

Sprouting Jar Lid for Mung Beans
Growing Mung Bean Sprouts at Home
Mung beans are one of the most popular types of legumes for sprouting. Their sprouts are widely used in many cuisines around the world because of their pleasant taste, high nutritional value, and how easy they are to grow.
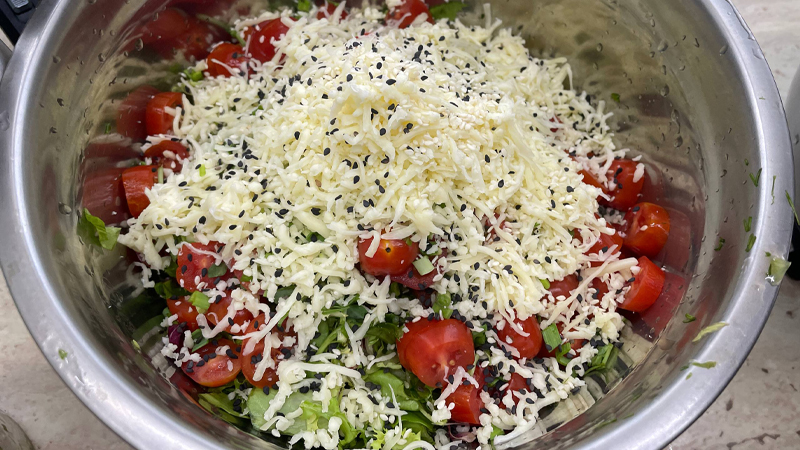
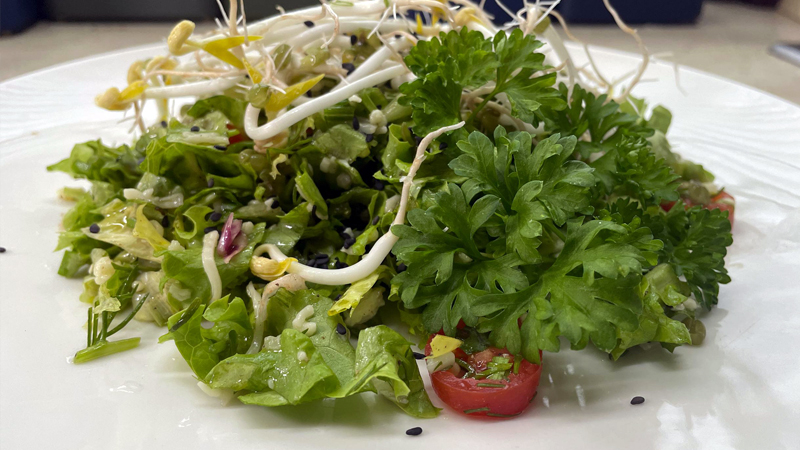

Mung bean sprouts contain a good amount of plant-based protein, fiber, vitamins, and minerals. During the sprouting process, many beneficial compounds become more active, making them a great addition to a healthy daily diet.
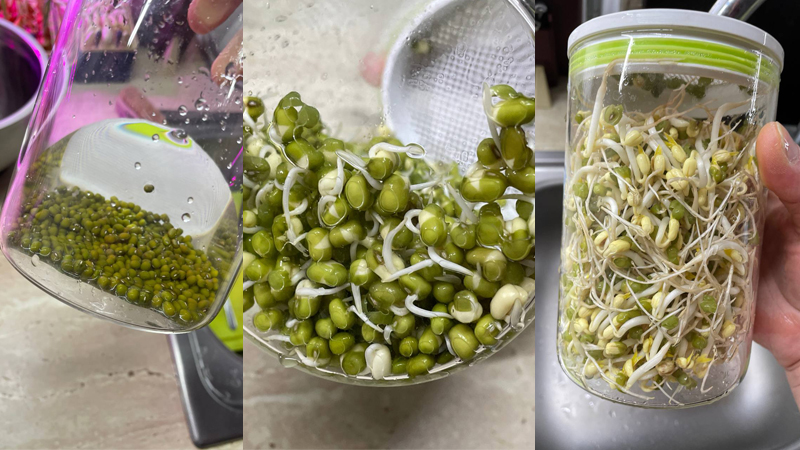
The biggest advantage of mung beans is how simple they are to grow at home. You don’t need any special equipment, soil, or complicated care. All you need is a container, water, seeds, and a few days of time.
Why I Designed a Special Sprouting Lid
You can grow mung beans using a regular jar and almost any lid with holes. However, I wanted to create a more convenient solution.
For this project, I used cylindrical storage containers that I found in a local store. Unlike traditional jars, these containers do not have a narrow neck — they are simple cylindrical containers, which makes them much easier to use.
I designed a custom sprouting lid specifically for these containers. The lid features a grid that allows you to easily rinse the seeds, drain excess water, and keep the container upside down during the sprouting process.
How to Grow Mung Beans at Home
The container I used has the following dimensions:
- Height: 150 mm
- Diameter: 100 mm
For one container of this size, you only need:
- 2–2.5 tablespoons of mung beans
Step 1 — Initial Preparation
- First, rinse the seeds thoroughly.
- After rinsing, add water until the seeds are slightly covered above their level.
- Leave the container overnight in a dark place to allow the seeds to soak.
Step 2 — Rinsing Process
- In the morning, rinse the seeds again.
- With this custom sprouting lid, there is no need to remove the lid. Simply pour water through the grid, rinse the seeds, and drain the water.
- After rinsing, turn the container upside down.
- This position allows excess water to drain away while providing enough airflow for proper sprouting.
Sprouting Process
For the next five days:
- Rinse the seeds in the morning.
- Rinse the seeds in the evening.
- Keep the container upside down after each rinse.
After five days, you will have a full container of fresh mung bean sprouts ready to use.
They can be added to salads, used as an ingredient in many dishes, or simply used as a fresh decoration for your meals.
Printing the Parts
When printing this project, keep in mind that different containers may have slightly different diameters.
Because of this, the TPU gasket size may need to be adjusted directly in your slicer using the X and Y scale settings.
I printed the gasket using:
- TPU 85A
- TPU 90A
For different containers, I had to slightly adjust the gasket dimensions to achieve the perfect fit:
- tight enough to stay securely in place;
- sealed properly;
- but still easy to remove when needed.
The size of the grid openings can also be adjusted directly in the slicer according to your preferences.
Project Files
The prepared 3MF file already contains all necessary parts with printing settings included.
You can simply download the file , open it in your slicer, and start printing.
For more experienced users, STL files are also available for custom adjustments and personal settings.
The complete assembly process can be seen in the video.
Where to Buy Mung Bean Seeds for Sprouting
Choosing the right seeds is very important.
I recommend buying mung beans from specialized stores that focus on microgreens and sprouting seeds.
Regular mung beans from grocery stores are often intended only for cooking. Some of them may be treated or processed for longer storage, which can reduce their ability to sprout successfully.
Sometimes grocery-store mung beans can still work, but for consistent results, it is much better to use seeds specifically prepared for sprouting.
Professional 3D Printing with JLC3DP
Recently, I started working with a new sponsor for my videos and some of my projects — JLC3DP, a specialized division of the JLC group of companies focused on professional 3D printing and rapid prototyping.
While a desktop 3D printer is an amazing tool for creating most hobby projects, professional 3D printing opens a completely different level of possibilities.
JLC3DP offers multiple professional manufacturing technologies, including high-precision resin printing, industrial-grade nylon printing technologies, and even metal 3D printing using SLM technology.
This means you are not limited to simple plastic prototypes anymore. You can turn your digital designs into real engineering parts with high accuracy, complex geometries, and materials that are difficult or impossible to use on regular desktop printers.
Even though this particular project does not require professional manufacturing, you may have your own ideas that deserve a higher level of quality — custom enclosures, mechanical parts, functional prototypes, or even small production runs.
Using my promotional links, you can get attractive discounts on your first order and try professional 3D printing for your own projects.
Turn your ideas into real objects with the help of professional manufacturing technology from JLC3DP.
Only $0.3 to Start 3D Printing with JLC3DP! Get Your $123 Welcome Coupons Here
See the video for details:

If you liked this thing - let me know by putting like!
Parts links below:
Links to used tools:
- NOGA deburring tool and Blades
- Soldering Iron Tip 3D Printing Finishing Tool
- Heat Insert Nut Iron Tip
- Heat Insert Nut Iron Tip T12
- Heat Insert Nut Iron Tip Trimming kit C210
- Mini Electric Drill
- ARROWMAX A Set-10 Bits of Drill
- Polishing Cordless Drill
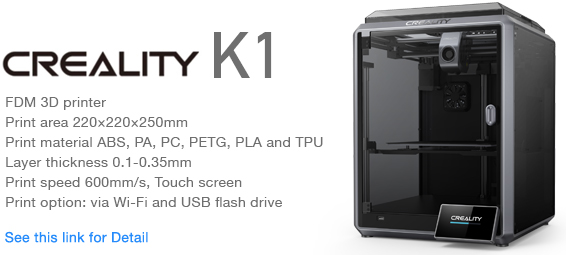
My new machine:

My favorites:

Thank you for every tip or donation,
it means great recognition for me and helps a lot to keep going!

BTC:bc1qplpzq36ghw84hty4nn2zzu4ps4sdh4th0v93j8
ETH:0xc766ebbeAa76aaf629788c8F99C33A8d80d48977
My some other things: